How to Upscale Videos Using AVCLabs Video Enhancer AI [2025]

Are you hoping to make your videos or home movies look better with AVCLabs Video Enhancer AI but aren’t sure exactly how to do it?
Well, I’ve tried most of the best-rated AI video upscaling programs, and I must say I’m a bit of an expert by now.
Let’s get started with how to use AVCLabs for upscaling!
This post may contain affiliate links, which means I’ll receive a commission if you purchase through my links, at no extra cost to you. Please read full disclosure for more information.
AVCLabs Video Enhancer offers a similar video upscaling service to Topaz. It's got fast processing times and high-quality results (almost as good as Topaz, but not quite). It also features a world-leading AI Face Enhancement tool for videos, which makes it great for upscaling old home movies.
While both services offer high-quality results, AVCLabs may be a better choice for those who don't need a long-term AI enhancer or for those on a budget. They offer a full range of pricing options, starting with a monthly plan.

Step-By-Step Guide to Upscale Videos Using AVCLabs Video Enhancer AI
AVCLabs is a great offline AI video upscaling software with flexible pricing plans that suit any budget.
It’s a tool that can help you use the power of artificial intelligence to make your videos look better! Who wouldn’t want that?
I know some of these programs can be a bit confusing to learn, so follow along as I take you step-by-step on how to upscale your low-resolution videos into high-resolution masterpieces.

RELATED: Click to read a comparison of my two favorite video upscaling programs, Topaz Labs vs. AVCLabs.
Step 1: Download the Program
First, go to AVCLabs.com and download the free version of the program straight from their homepage. They have an option for Windows or Apple.

Step 2: Import a Video to Upscale
Open the program and browse through your computer to find the video file you want to import.

Your video will open into the main editing interface. Here, you can add another video, along with trimming or cropping your current video.
Step 3: Choose a Filter or Preset
On the right side, you’ll find the Presets and Features toolbar.

There’s a ton of presets you can choose from to either upscale or slow down your video. For this example, I just chose to upscale the video resolution to 4K.
Below the presets, you’ll find the video resolutions. This tells you the original video’s current aspect ratio compared to the outgoing video’s aspect ratio.
You can choose any of the common resolutions listed or choose Custom to create your own size.

You can scroll down through the rest of the toolbar to toggle on various features AVCLabs offers, like Face Enhancement, Colorize, Motion Compensation, or just regular video settings to adjust the brightness, saturation, or contrast of your video.
Step 4: Preview Your New Footage
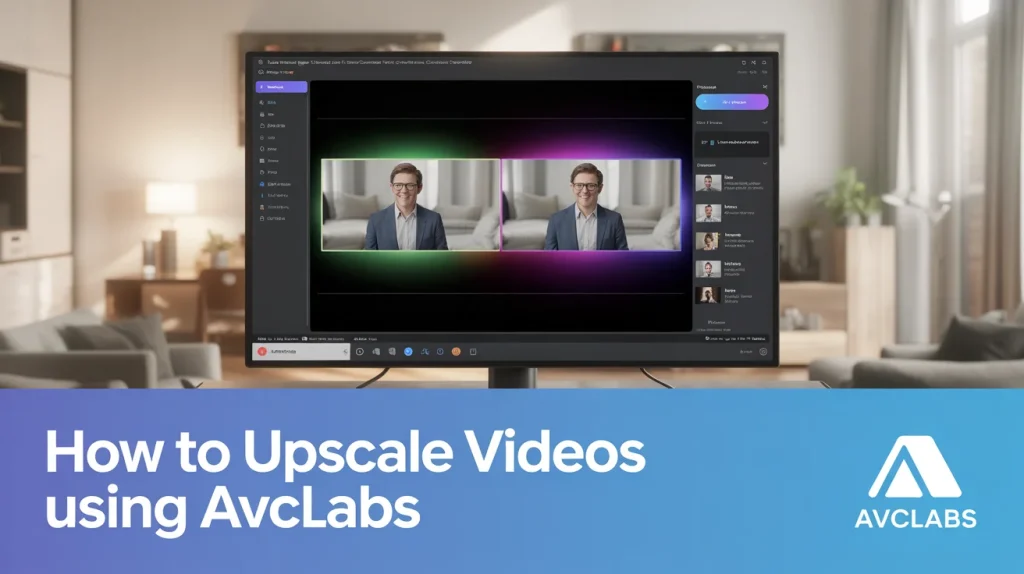
If you click on this eye icon under the video, it will show you the before and after comparisons of your video.

The only downside to this is that you can only preview up to the first 10 seconds of the video.

Once you compare the two videos to make sure you’ll like how the final video is going to look, you can either continue exporting a version with the watermark or purchase the program.
Step 5: Purchase AVCLabs
If you like the quality of the video, you can click the shopping cart icon on top of the AVCLabs window. This will take you back to the website where you can purchase the program.

AVCLabs Video Upscaler is particularly great because they have a range of pricing options for every budget.
- 1-Month Plan: $39.95
- 1-Year Plan: $99.95
- Perpetual Plan: $199.90
Step 6: Export Your Video
Finally, once you’ve purchased the program you can export the final video.

Set the output settings to your liking – you can choose between different formats and encoders like ProRes and H.264.
Click the blue ‘Start Processing’ button on the bottom of the program to start the export. Depending on the length of your video, the processing time can vary.
The final high-quality video will be downloaded onto your computer!

Keep in mind if you’re using the free trial version, there’s a limit of a 30-second video max.
RELATED: Click to read more about the overall benefits of upscaling your videos.
- New Interface Design: The application now has a fresh look, making it easier to navigate and use.
- Task Queue Panel: Manage multiple video projects efficiently with the new task queue feature.
- Ultra AI Enhancement Model Update: Experience faster processing speeds and better video quality with the improved AI model.
- File Size Estimation: Now you can see the estimated size of your output video before exporting, helping you manage storage space.
Take a look at some features:
Final Thoughts
In the end, I think AVCLabs is one of the best video enhancers for people who have lots of footage to upscale (such as old home videos). They have a variety of affordable options if you can’t afford the lifetime fee, and they also don’t charge by the length of the video like some other programs do.
However, please remember that this is a downloadable program. If you need a web-based program (i.e., if you use a Chromebook), check out Pixop, which is based in the cloud.
If you’re interested in video upscaling, but not sure that AVCLabs is the program for you, check out my reviews of these other top-rated AI programs:


